Step 3
Deploy your cluster
To serve our service, we need a place where to run our tools. To do so, we are going to use containers and Kubernetes. Why? Containers package up the services comprising an application and make them portable across different compute environments. However, containers are not designed to manage applications that might comprise hundreds of containers spread across multiple hosts. They need to be managed and connected to the outside world for tasks such as scheduling, load balancing, and distribution, and to do so, we will use Kubernetes as container orchestration. We will call this “Kubernetes Cluster”.
Creating a Kubernetes cluster on your own is not an easy task. Fortunately, GRyCAP have created the Infrastructure Manager, a tool designed to ease non advanced users launch complex virtual infrastructures on top of a wide range of cloud providers. To create your Kubernetes cluster, the first step is to Check-in at the Infrastructure Manager Dashboard (click here) with EGI and select the option “Launch a Kubernetes Virtual Cluster”. If you think kubernetes is excessive for your service, you can use a simple VM template from the infrastructure manager or directly use your cloud provider interface. Appendix A offers a simple example of how to create a simple VM instance with OpenStack.
If this is your first time using Infrastructure Manager, you will probably have to set up your cloud credentials here before deploying any infrastructure.
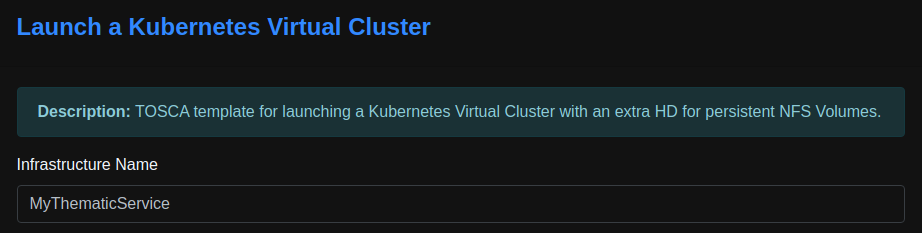
Figure 1. Infrastructure Name field
We should provide an infrastructure name to identify it later on. For this case, we will name the infrastructure as “MyThematicService”, but you can choose any name you like. Use the field on figure 1 to introduce your chosen name.
Once the name is decided, just in the same form, below the name you have provided you will find a tab with 3 form sections we have to complete in order to finish the deployment. This form contains the specifications required to deploy your cluster, for example how many work nodes your service is going to need. We recommend that you really think carefully about this section as, although possible, it is not easy to modify the cluster specifications once deployed.
The first page on the form, requires the hardware (HW) specification for the cluster (number of CPU, workers, Volume size, etc.). Note that you need to have permission to create the required resources on the target provider, otherwise the deployment will fail.
Figure 2. Specifications for cluster HW

Figure 2, shows an example of hardware specifications that you can use for a small service. In this case we configure a total of 3 nodes (servers) where there are 2 Working Nodes (WN) and 1 Front-End (FE) node. Note that a Persistent Volume is created together with the cluster where you can save data, but mounted only on the front-end. We will see how we can access the data from the WNs later. In case you already have a Persistent Volume you would like to use instead, you can complete the field with the volume URL.
The second page on the form, is about the kubernetes specifications. In this section you have to pay special attention to the following:
- Change the Access Token for the Kubernetes admin user.
- Use ‘docker’ for the CRI Runtime to use with Kubernetes.
- Enable the Flag to install Cert-Manager
- Write an email to be used in the Let's Encrypt issuer to get notifications.
- Write the chosen DNS name of the public interface.
In addition, depending on your application case you might consider as well:
- Enable the flag to set the kubeapps UI to be installed.
- Enable the flag to add NVIDIA support if you plan to use NVIDIA GPU containers.
Figure 3. Specific configuration for kubernetes

Do you remember the DNS name you chose at step 1? The IM is going to use Let's Encrypt to generate the certificates required for your users to access the service safely, however to do so, the address where you are going to run the service must match the address at the certificates. Easy don’t you think?
It is not safe to use the default Access Token for admin users. We strongly recommend changing it before deployment. Also, note that the Kubernetes Access Token is different to the Access Token you obtained from the AAI.
The third page on the form and final phase (for creating your cluster) is to indicate where you want to run your cluster. If you followed step 2, you probably already know where you would like to host your service, use the “Select Cloud Provider” to choose the credentials to apply. Note again that if your credentials do not appear, probably you need to add them in your IM user here or at the top right of the page.
Once you select the provider, all the resources available for your user at that provider will be automatically loaded. Check the chosen site has enough resources to run your cluster. For example, configuring 2 WNs with 2 CPUs would consume 4 VCPUs in addition to the FE requirements. The graphs at “Site Resource Usage” do not display numbers, move the mouse over the graph to pop up a small text with the details.
Note a Kubernetes cluster requires at least 1 Floating IP for the FE node access.
In addition, you will have to choose the Operation System (OS) image to install in your cluster nodes (machines). You only need to select one image from the “AppDB” repository OR from the cloud provider (as “Site image”). You can choose the one available that you like the most. I am going to use “Ubuntu 20.04” for this example.
Figure 4. Cloud provider selection panel

Once you are ready, click on “Submit” and the deployment process will start. You will be automatically redirected to “My Infrastructures” where you should see your new infrastructure together with the “Status”. Wait until the status for the just created cluster is “configured”, it would mean we are ready to use it.
Figure 5. Infrastructures with pending deployment
